
Third Party Services are great tools that can help you grow and manage your business. However connecting the forms on your website to these Third Party Services can be a bit tricky. As we currently do not have a way to directly connect Podio to your forms, we’re going to show you in a few simple steps how you can connect to your Podio account via Zapier.
If you already have a Zapier account and know how to use it, then this will be very simple. If you don’t then You Will Need a Zapier account and I highly encourage you to read Third Party Services – Zapier.
Step 1: Connect Zapier to Podio
The majority of the setup will be from Zapier, it’ll act as a middle man that sends your contact form info to your Podio workspace. In order for this process to work however, you’ll need to connect Zapier to Podio.
To do this is very simple, first click Connected Accounts in the menu. Then type in Podio in the search field.


A pop-up window will appear with a form requesting login information for Podio and asking permission to access the account info.

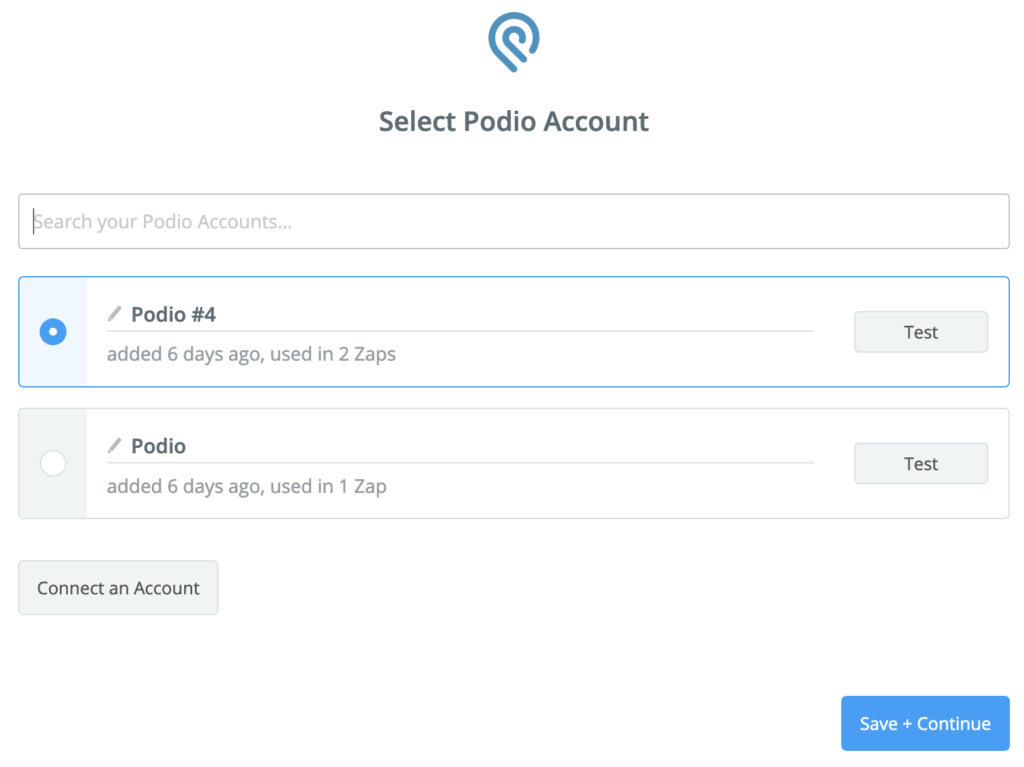
Once you have that connected the window will disappear and your connecting will appear in your list. To make sure it is working click on Test.

Step 2: Adding An Action To Your Zap
Next what you’ll need to do is create a Zap. Again if you do not know how to do this please read Third Party Services – Zapier.
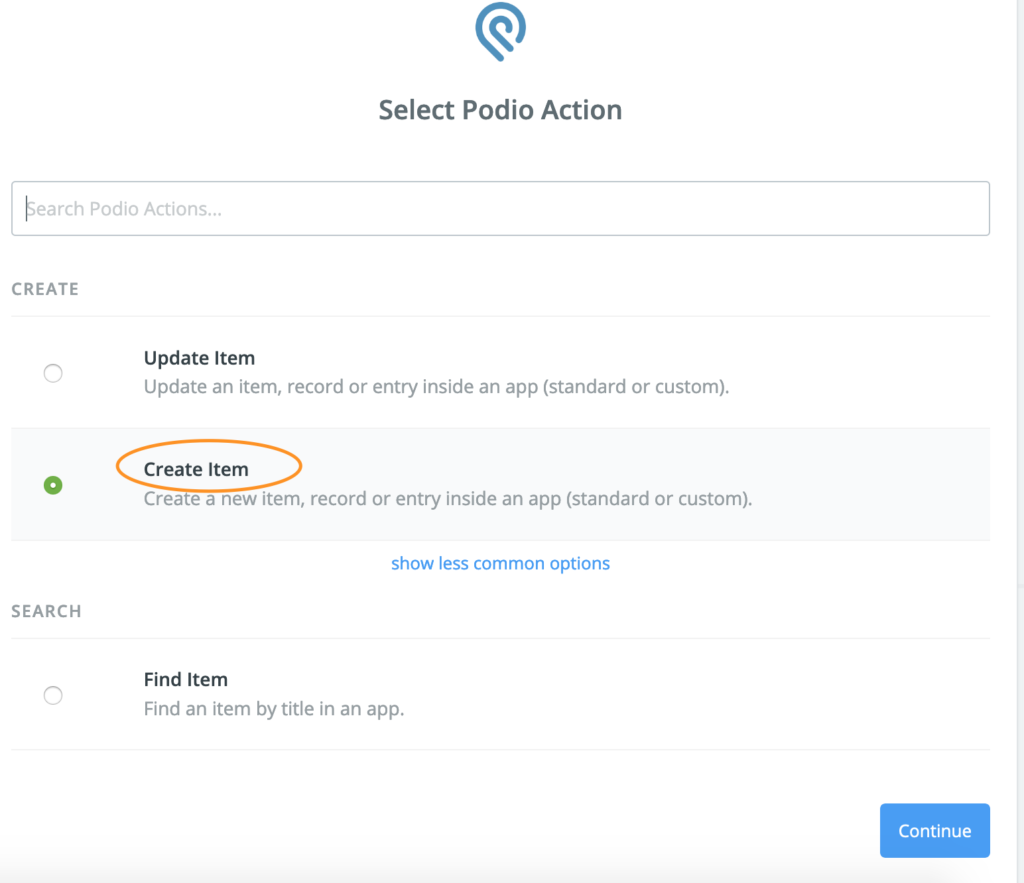
Once you have your Zap created, on the left side of the page you’ll see 2 boxes. The first is called a Trigger, that is what you create when you first start making a Zap and where you connect the forms on your website to Zapier. The second is called a Action, here is where you’ll connect Podio so that the information from your forms will be sent to your Podio account.
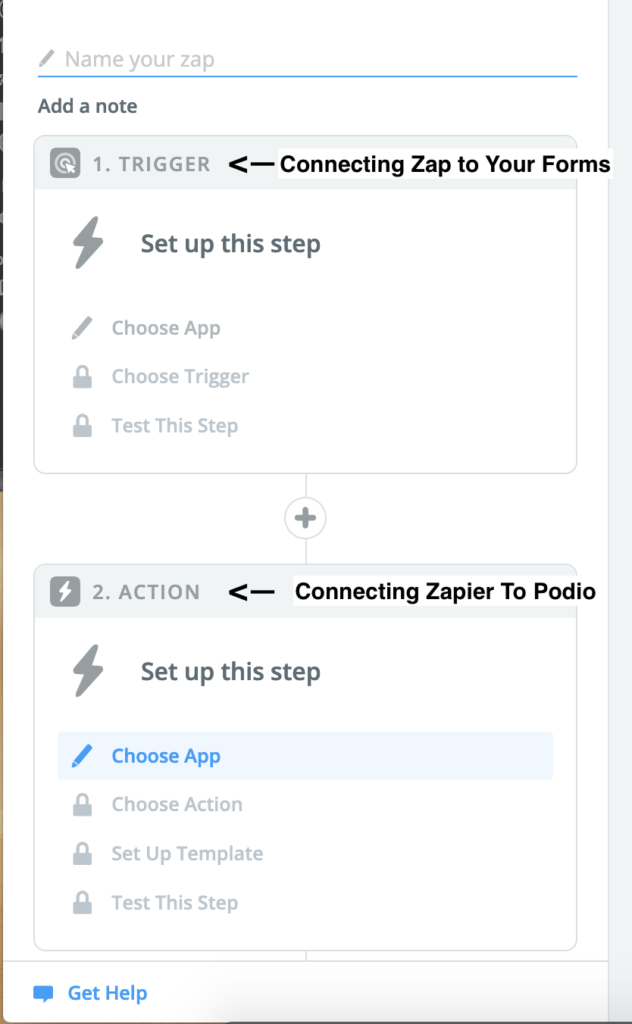
The setup for the Action step is very similar to the Trigger.

Step 4: Testing your Zap & Finishing
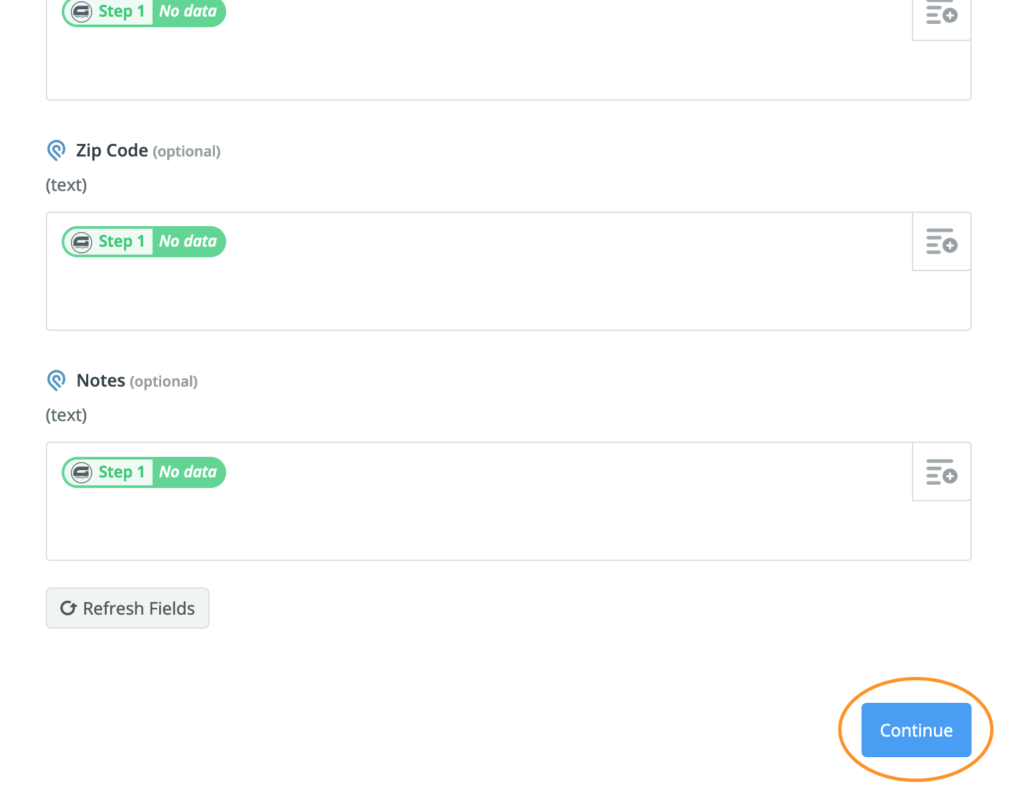
The nice thing about Zapier is that it allows you to test if your Zap is working correctly, so you’re never left wondering if you set everything up correctly. You can check in your Podio workspace to see if the fields are receiving the correct information when Zapier sends a test form submission. If you need to tweak any of the settings you can always go back and do so.
Now that you have everything setup and working as you need it to, the last thing you want to do is make sure your Zap is turned ON.
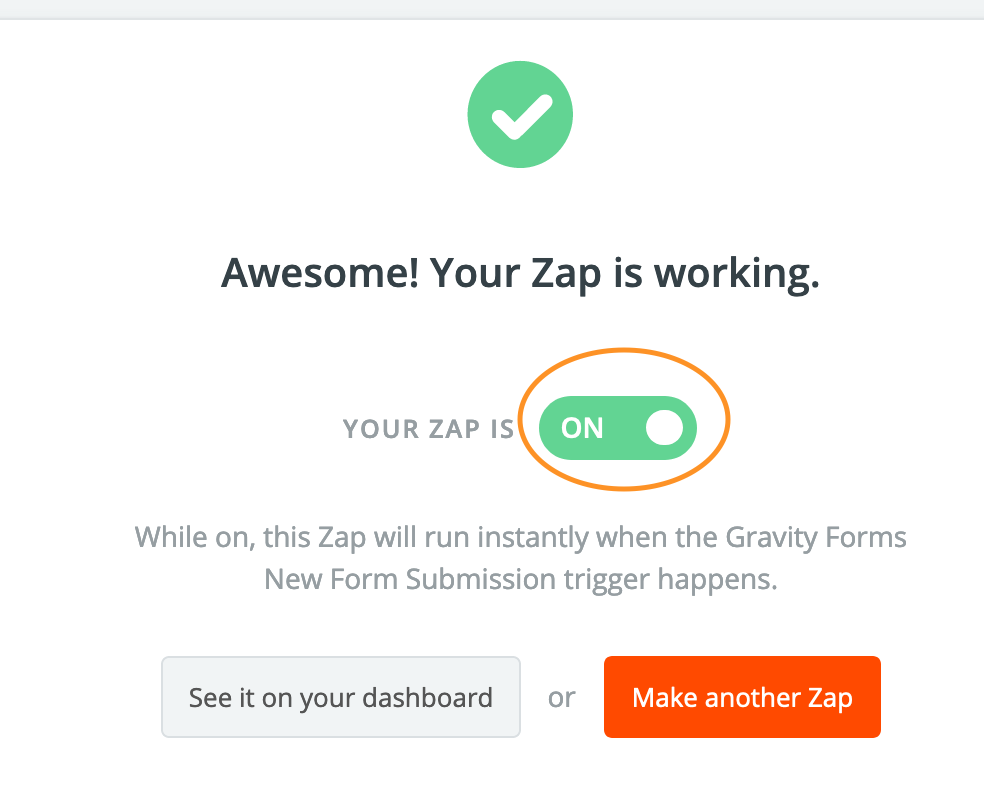
NOTE: If you no longer need a Zap you created you can simply turn it OFF and it will stop working or you can simply Delete it.