Getting Started
1. If you are new to editing your site, we recommend that you watch the tutorial on editing your site to get some basics.
2. Go to your website address /wp-admin (e.g. mywebsite.com/wp-admin)
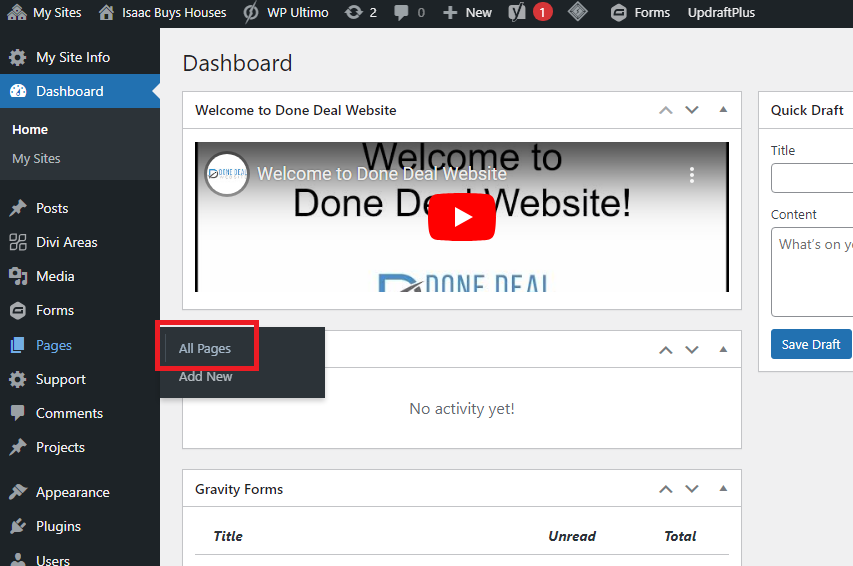
3. From the Dashboard, on the side menu, hover over “Pages”. A small menu will appear. Click “All Pages”
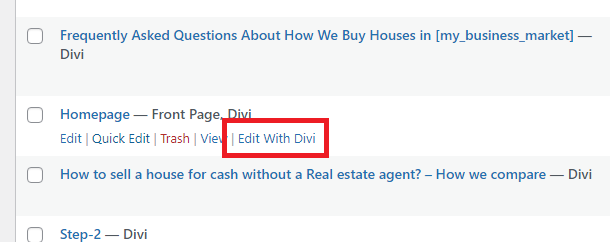
4. Hover over the page you want to add social media icons to and click “Edit with Divi” (If you want to add them to the header or footer of your site, choose any page)
Adding Social Media Icons
Note: When the page opens, the visual builder will be enabled. In this mode, you won’t be able to use the site as normally would. If you need to get out of the visual builder at any point, click “Exit Visual Builder” in the top gray menu.
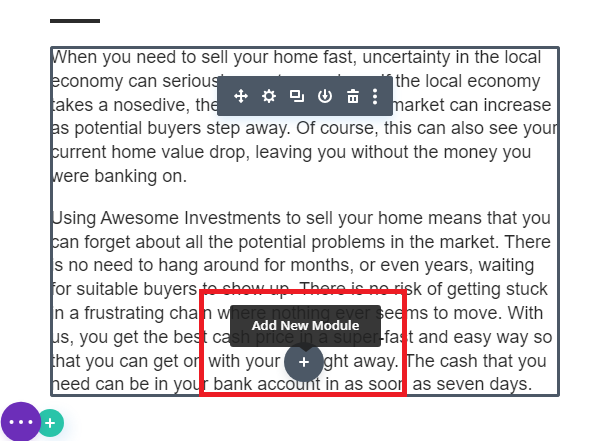
1. Find the spot where you want to add social media icons.
2. Hover over the area and a gray box will appear. [Note: If you are trying to add social media icons to the header or footer, when you hover over it, it will first say “Edit Header/Footer Template” in green. Click once, then continue to the next steps.]
3. Click the gray circle with the plus (+) sign (when you hover over it, it will say “Add New Module”
4. A menu will appear with different module types. Scroll down until you find “Social Media Follow”. Click that.
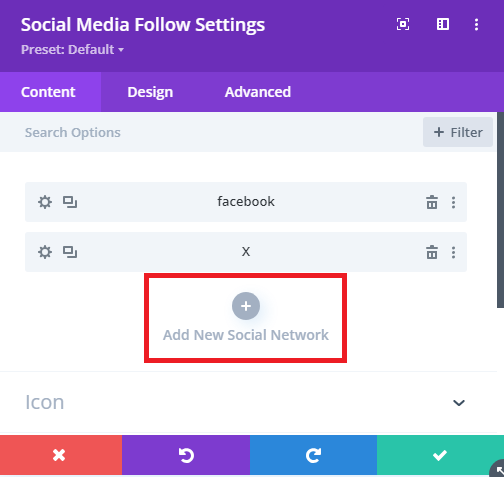
5. A box will appear that says “Social Media Follow Settings”. Here you have a number of options.
To add a new social media icon:
- Under “Content”, click “Add New Social Network”
2. In the pull-down menu under “Network”, choose the social network you would like to add.

3. Click “Link”. Then add the URL for your social media page in the text box
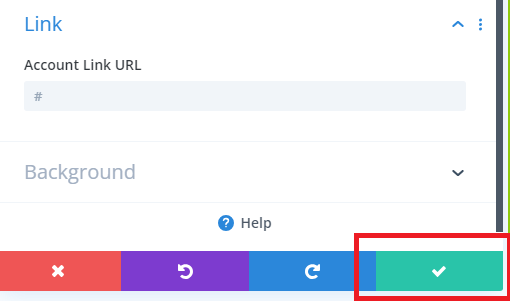
4. Under “Background” you can change the color of the icon, but this is optional.
5. When you are finished click the green box with the checkmark.
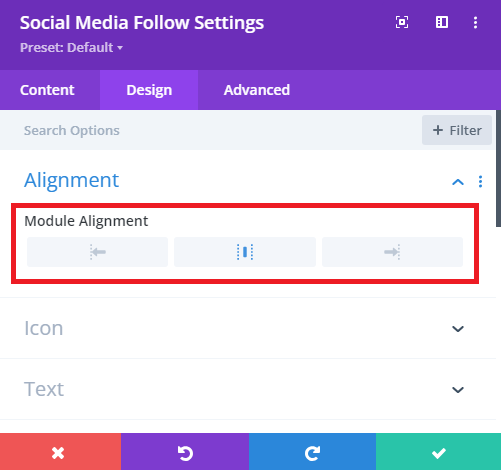
To change the alignment of your social media icons:
Under “Design”, click “Alignment”. Choose the alignment you would like (left, center, or right)
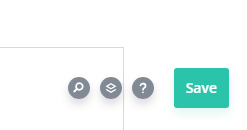
When you are finished editing your social media module, click the green box with the check mark.Click the purple circle with 3 dots in the bottom center of the page. When it opens, click “Save” in the far right.

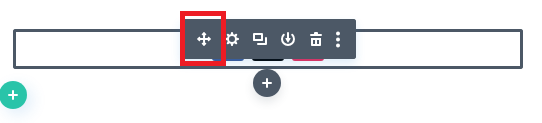
If you need to move your module to a new location:
- Hover over the module until a gray menu appears.
- Click the icon with 4 arrows and drag the module to a new location.