
Getting Started
- Go to your website address /wp-admin (e.g. mywebsite.com/wp-admin)
- From the Dashboard, on the side menu, hover over “Pages”. A small menu will appear. Click “Add New”

Adding a Blog Page
- When the page editor opens, add a title. For example, “Blog” or “Learn”
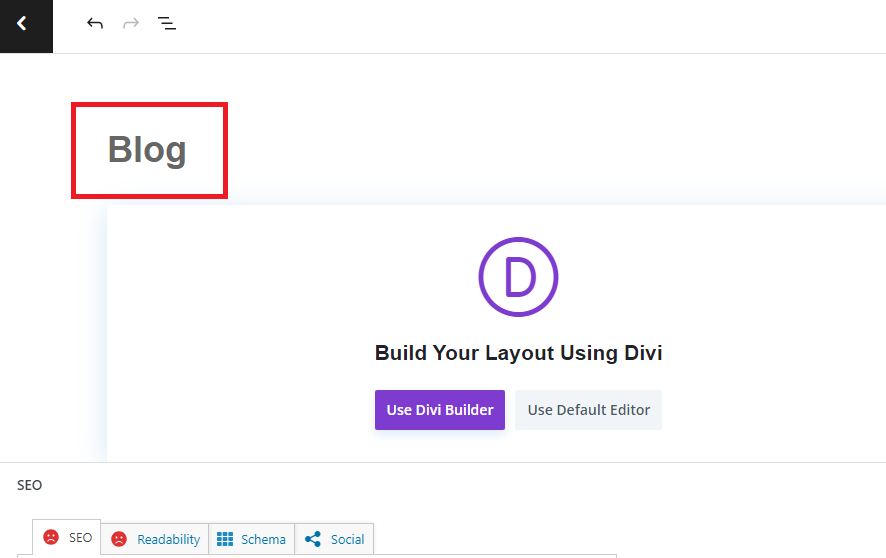
2. Click “Use Dive Builder”
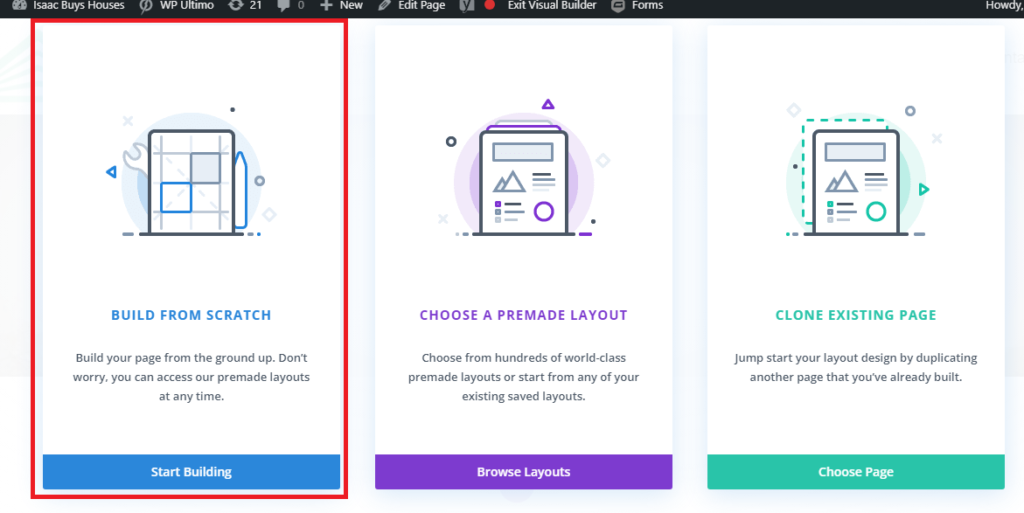
3. You will have three options. I recommend clicking “Build From Scratch”
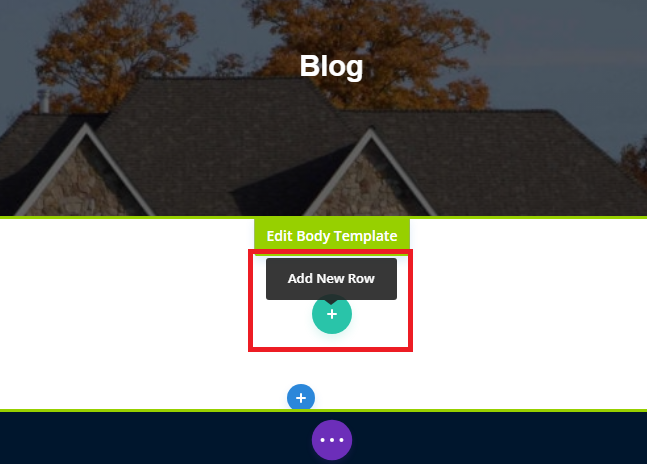
4. Click the green plus (+) button to add a new row.
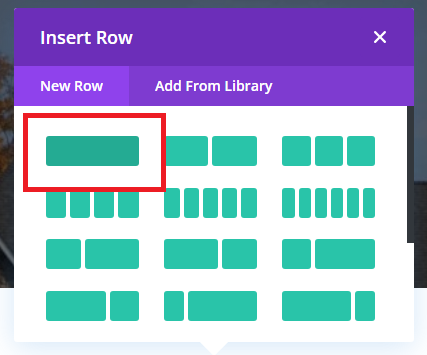
5. When the menu appears, select how many columns you want. I chose 1 to make it simpler.
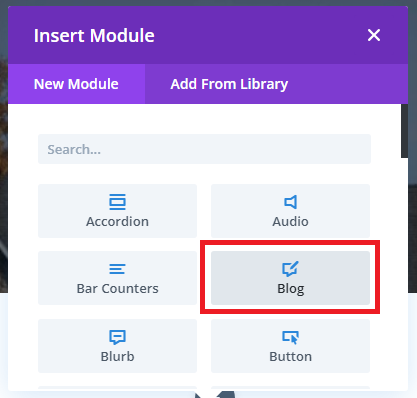
6. When the “Insert Module” menu opens, click “Blog”
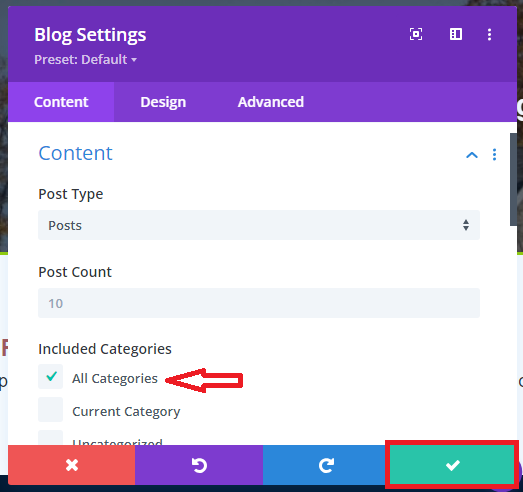
7. The “Blog Settings” window will open, you shouldn’t have to change anything here right now. All I’m going to do is check the box “All Categories” under “Included Categories” (This can be changed later if you decide to have multiple blog pages). Then click the green “Save” button.
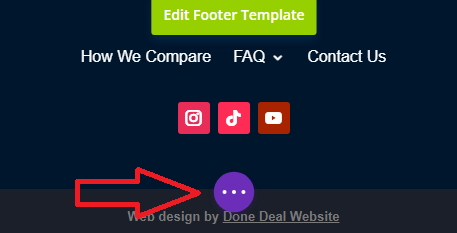
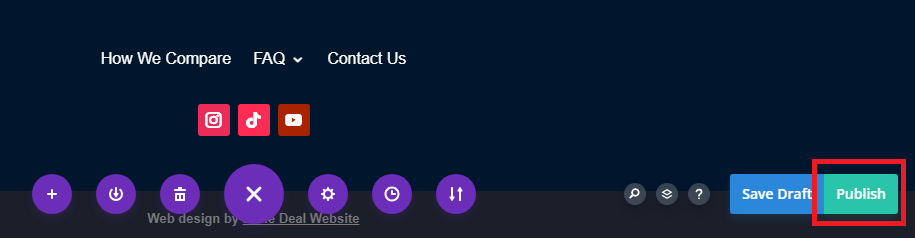
8. Click the purple circle with 3 dots to open the menu, then click “Publish” on the far right and your done! You now have a blog page! You’ll notice there are no blog posts, we’ll go over adding a blog post in the next section.
How to Add a Blog Post
If you are still on the blog page, go back to your dashboard. Your changes should be saved, but if not, make sure you click “Save and Exit”.
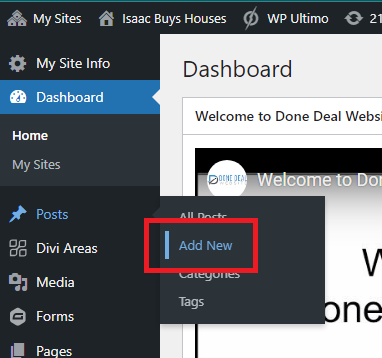
- From your Dashboard, on the left hand side menu, hover over “Posts” and click “Add New”.
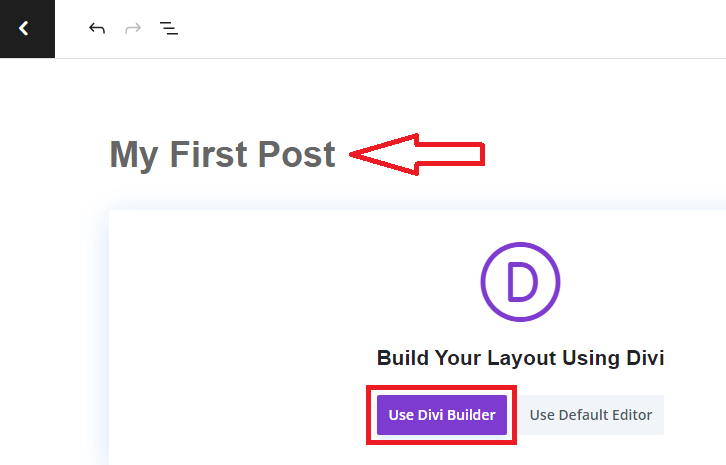
2. Just like when adding a page, add the title and then click “Use Divi Builder”.
3. Same as before, you can click “Build From Scratch”
4. You can now add text and images just as you would when making a page. If you’re not sure how to do that, please see this tutorial on adding text and images.
5. When you a finished making the blog you can click the purple circle with 3 dots and then click “Publish” (See Step 8 from “Adding a Blog Page”). Congrats! You have your first blog post! It will now appear on your Blog page.
Adding a Featured Image and Categories
A featured image can be added to your blog post. This will appear on your main blog page before someone opens your post. To set a featured image:
- From your Dashboard, hover over “Posts” then click “All Posts”
- Find the blog post you would like to add the featured image to and click “Edit”
- When the blog editor opens, on the right hand side menu, scroll down until you see a section called “Featured Image”. Open it and click “Set Featured Image”
- Choose the image you would like to add and then click “Set Featured Image”
- Then click “Update” at the top of the page.
On the same blog post editor, there is also a section called “Categories”. Here you can use the check boxes to choose which category to add the blog post to. If you would like to add a new category, click “Add New Category”, write the name and click “Add New Category” and then “Update” at the top of the page.