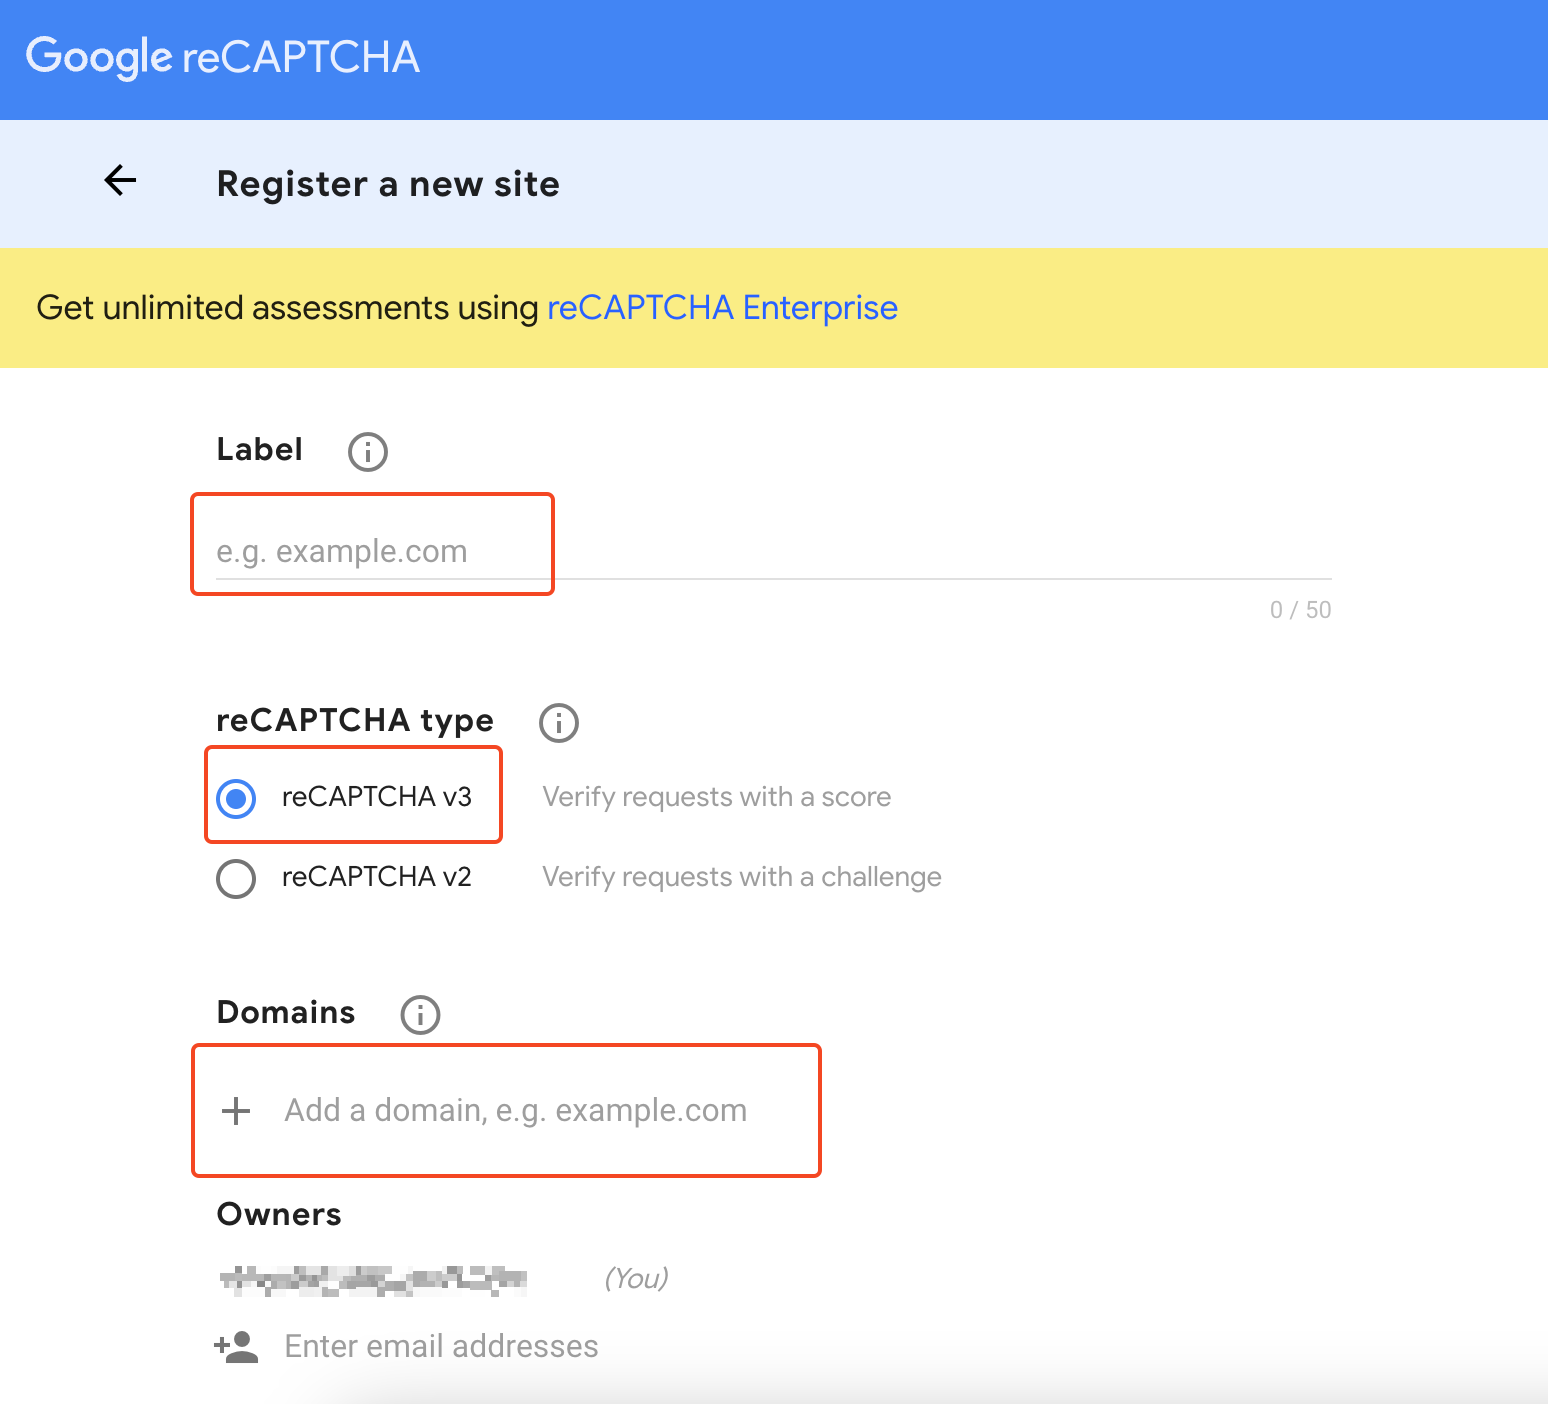
To add Google reCAPTCHA v3 to your site, first you will first need to integrate your Google account with your website. To do this, go to Google reCAPTCHA Admin. You will need to create an account if you don’t have one – and then follow the instructions to register your site. Make sure you select Google reCAPTCHA v3 and under domains field, enter the following two domains:
- Your domain without www
- donedealwebsite.com
Google will provide you with a Site Key and a Secret Key.

Go back to your WordPress Admin and in the Dashboard, click on Forms > Settings > reCAPTCHA. Under Google reCAPTCHA v3, enter the Site Key and Secret Key provided by Google. When you click Save Settings, you should see green check marks for both keys, which means they have been validated.
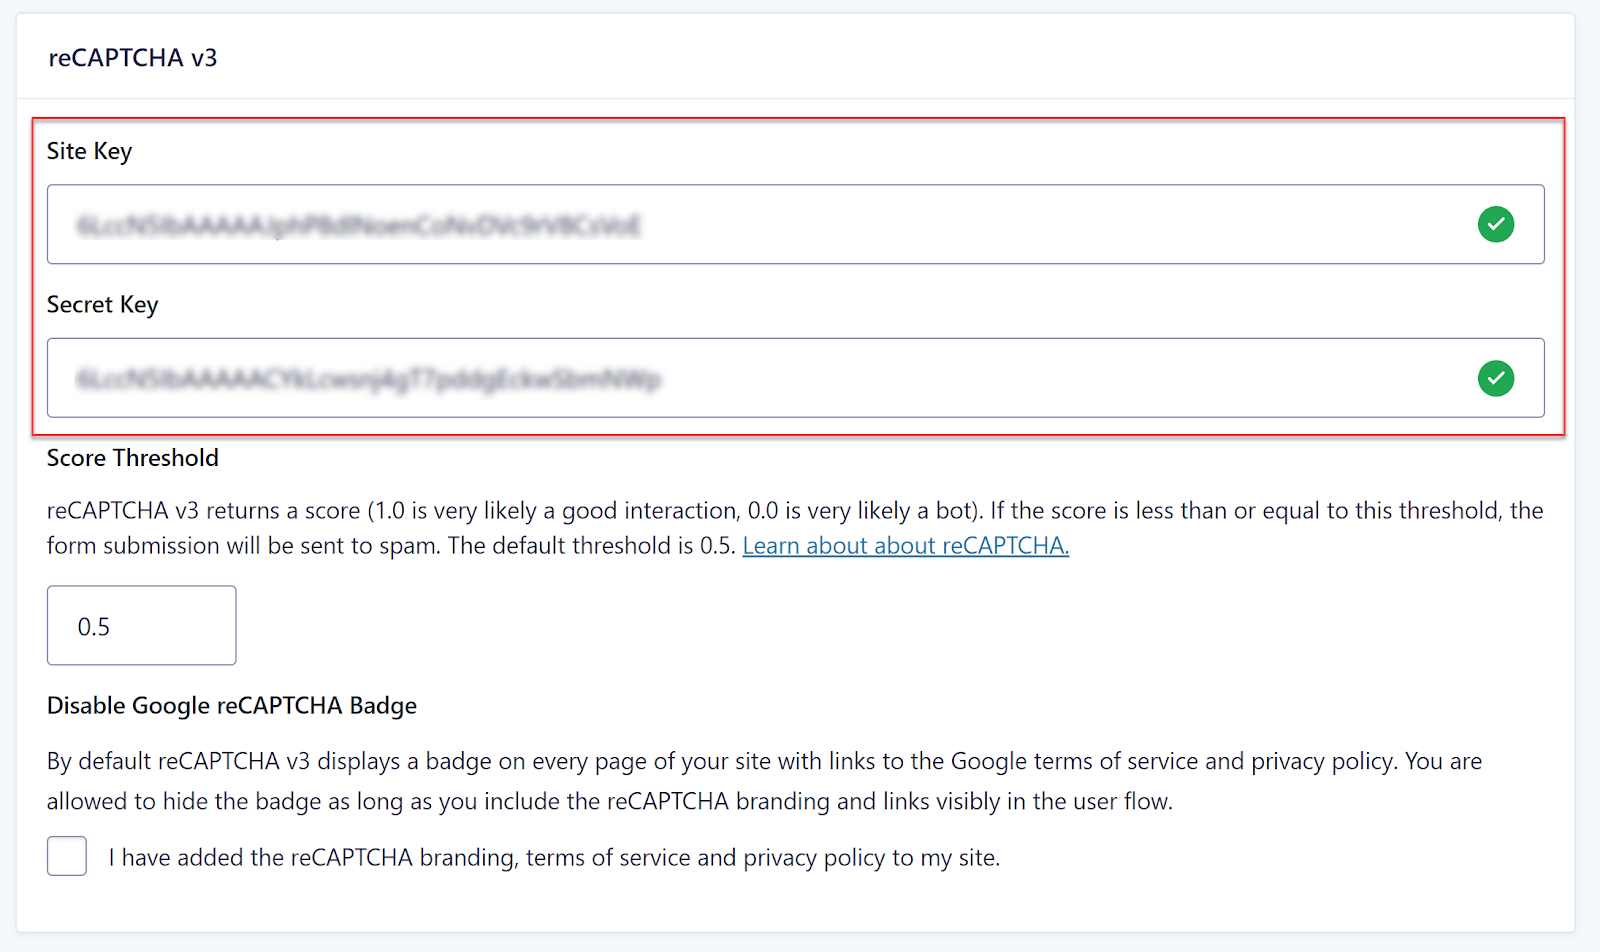
You can also configure the Google reCAPTCHA v3 threshold for spam. You can learn more about this score by clicking this link.
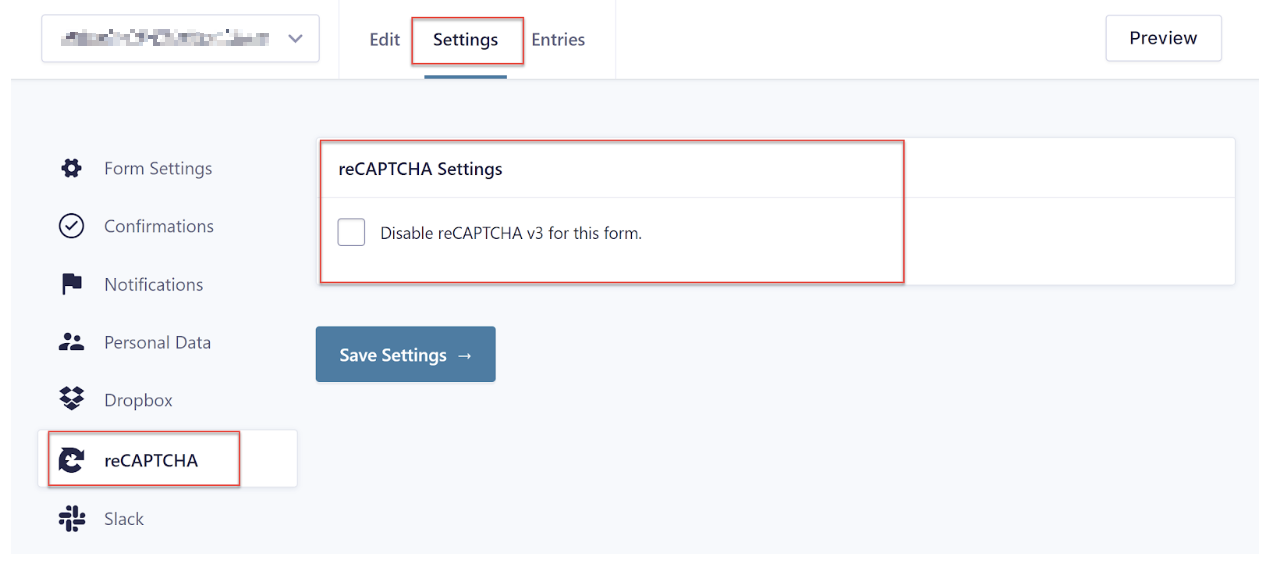
Once you have added and validated the reCAPTCHA v3 settings, Google reCAPTCHA v3 will be enabled on all forms. If you want to disable reCAPTCHA v3 on a particular form, simply open that form and select Form Settings > reCAPTCHA. You will have the option to disable reCaptcha v3 on this page.