
Getting Started
- Go to your website address /wp-admin (e.g. www.mywebsite.com/wp-admin)
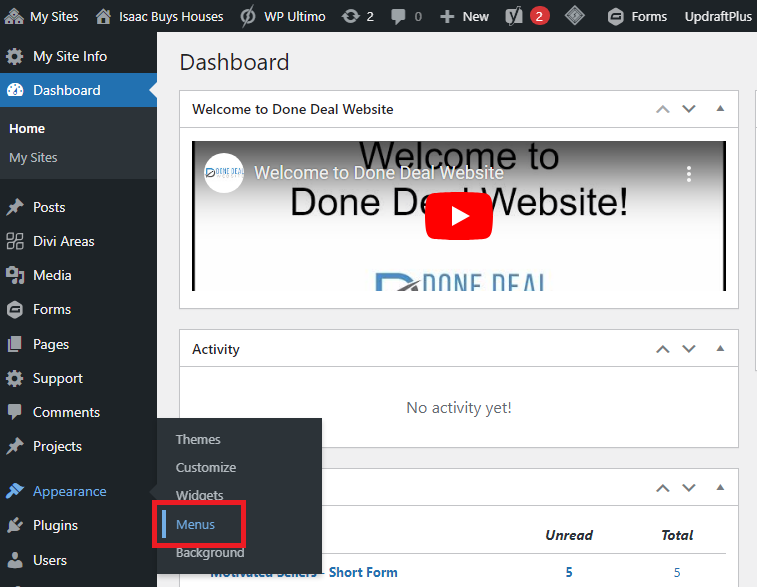
- From the Dashboard, on the side menu, hover over “Appearance”. A small menu will appear. Click “Menus”
Editing Your Menu
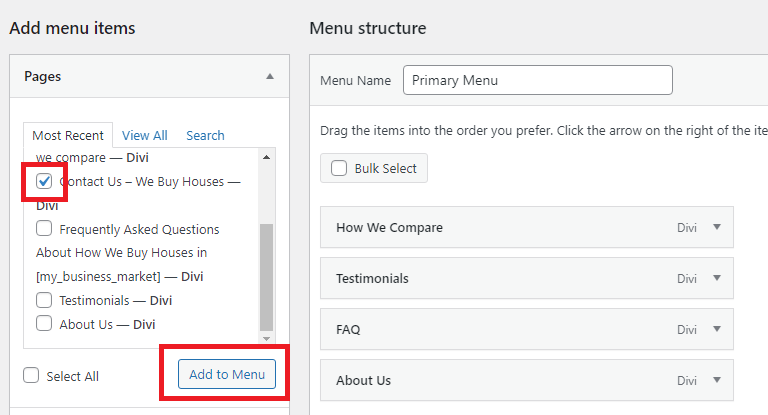
On the menu page, you’ll see 2 sections: “Add menu items” and “Menu structure”
To add a page to the menu:
- Under “Add menu items” in the box that says “Pages”, check the box next to the page you want to add to the menu.
- Click “Add to Menu”
- Click “Save Menu”
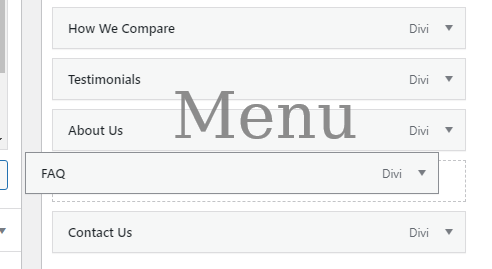
To change the order of the menu items:
You can drag and drop the menu items to change the order.
- Click and hold the menu item you want to move
- Drag the menu item up or down to change its position
- Click “Save Menu”
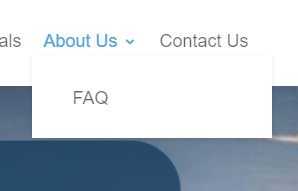
Note: You will see a box with a dotted outline under the menu item. If the box is all the way to the left, it will be on the menu. If you move it slightly to the right it will become a sub-menu item (see pictures below).

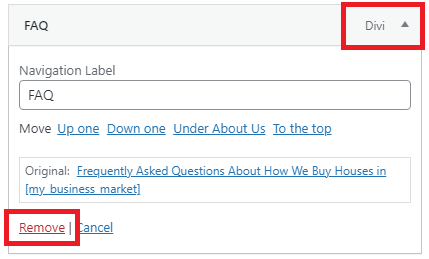
To remove an item from the menu:
- Under “Menu Structure”, on the menu item you want to remove, click the down arrow to see more options (It may say “Divi” or “ Page” next to the arrow).
- Click “Remove”
- Click “Save Menu”
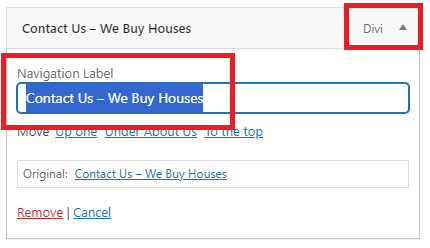
To change how the page appears on the menu:
- Under “Menu Structure”, on the menu item you want to edit, click the down arrow to see more options (It may say “Divi” or “ Page” next to the arrow).
- In the text box that says “Navigation Label”, replace the text that’s there with the text you want to appear on the menu.
[Note: This does not change the name of the page, only how it appears on the menu] - Click “Save Menu”
IMPORTANT: When you have finished making changes to your menu, make sure you click “Save Menu” in the bottom right corner of the “Menu” page.