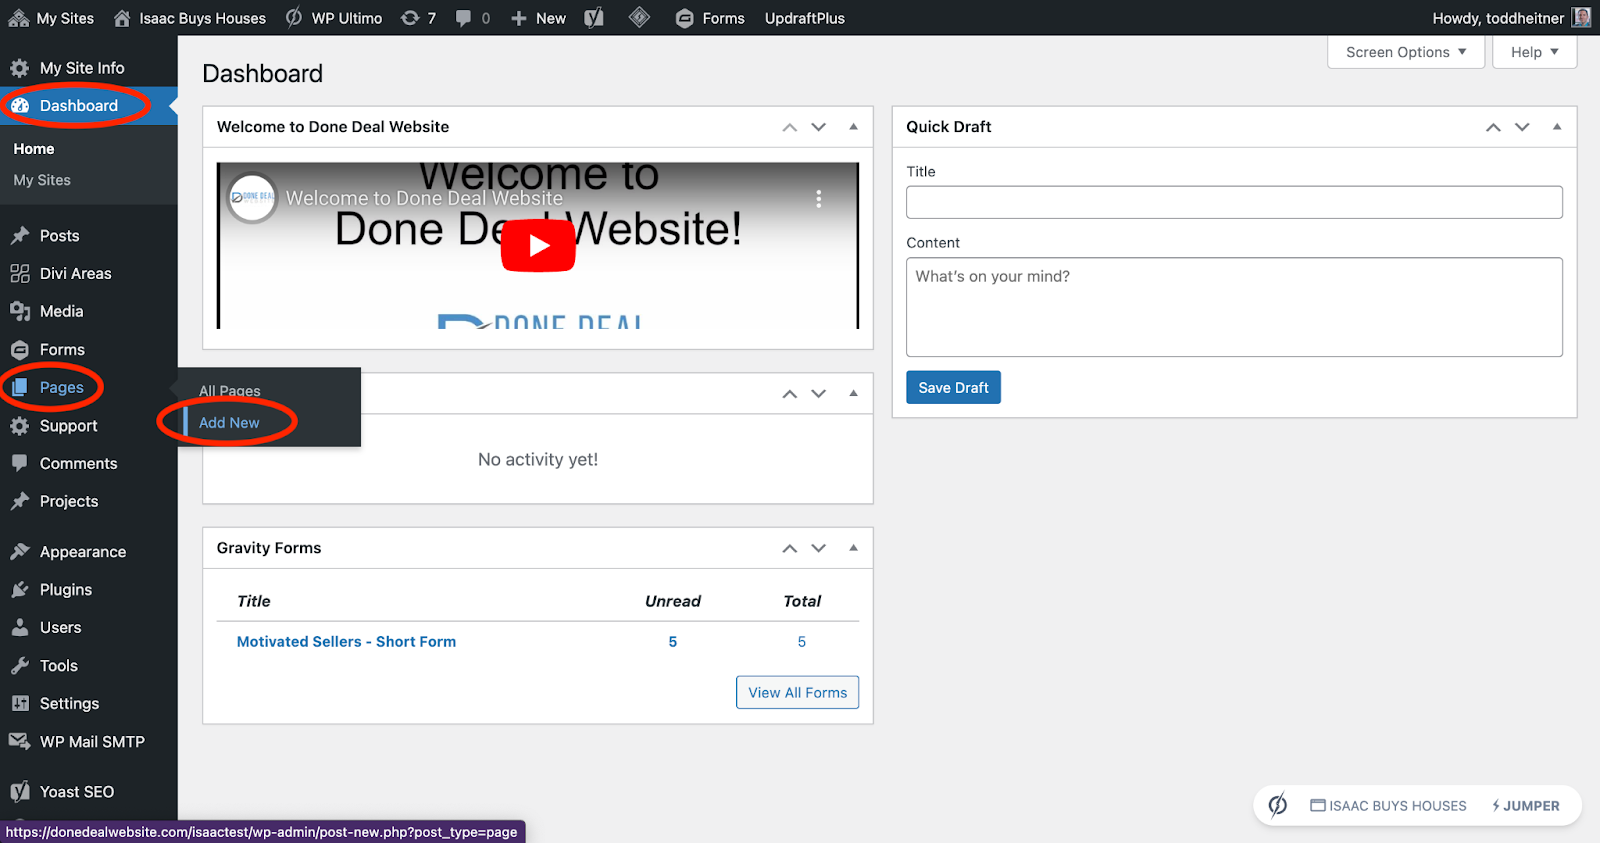
Log into your dashboard. Along the left-hand side, click Pages > Add New.
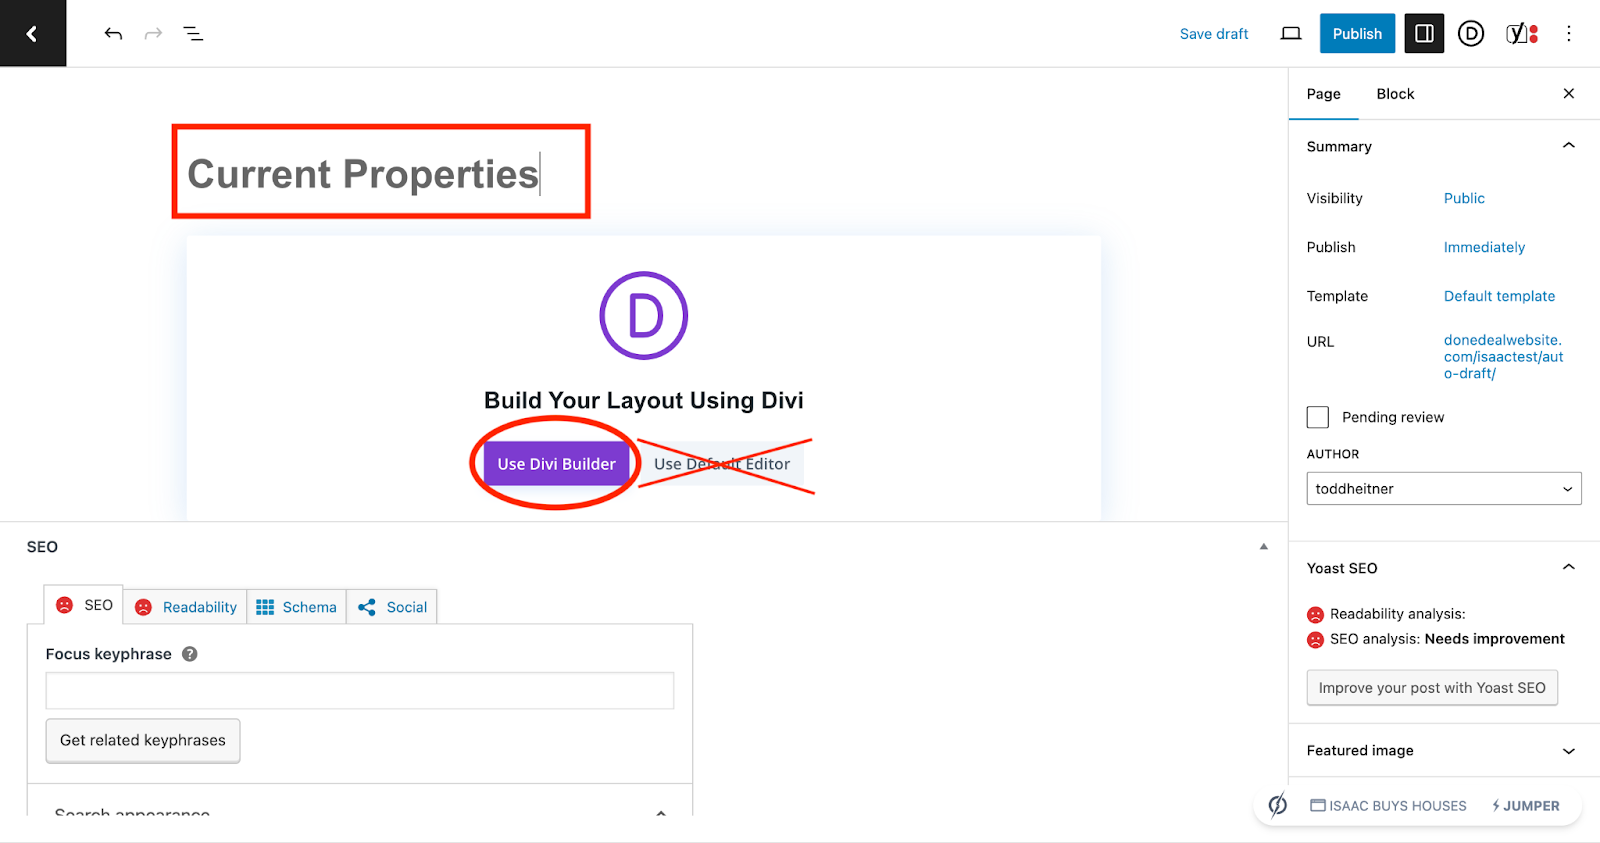
Add your page title and select “Edit With The Divi Builder.” On the next page, select “Start Building.”
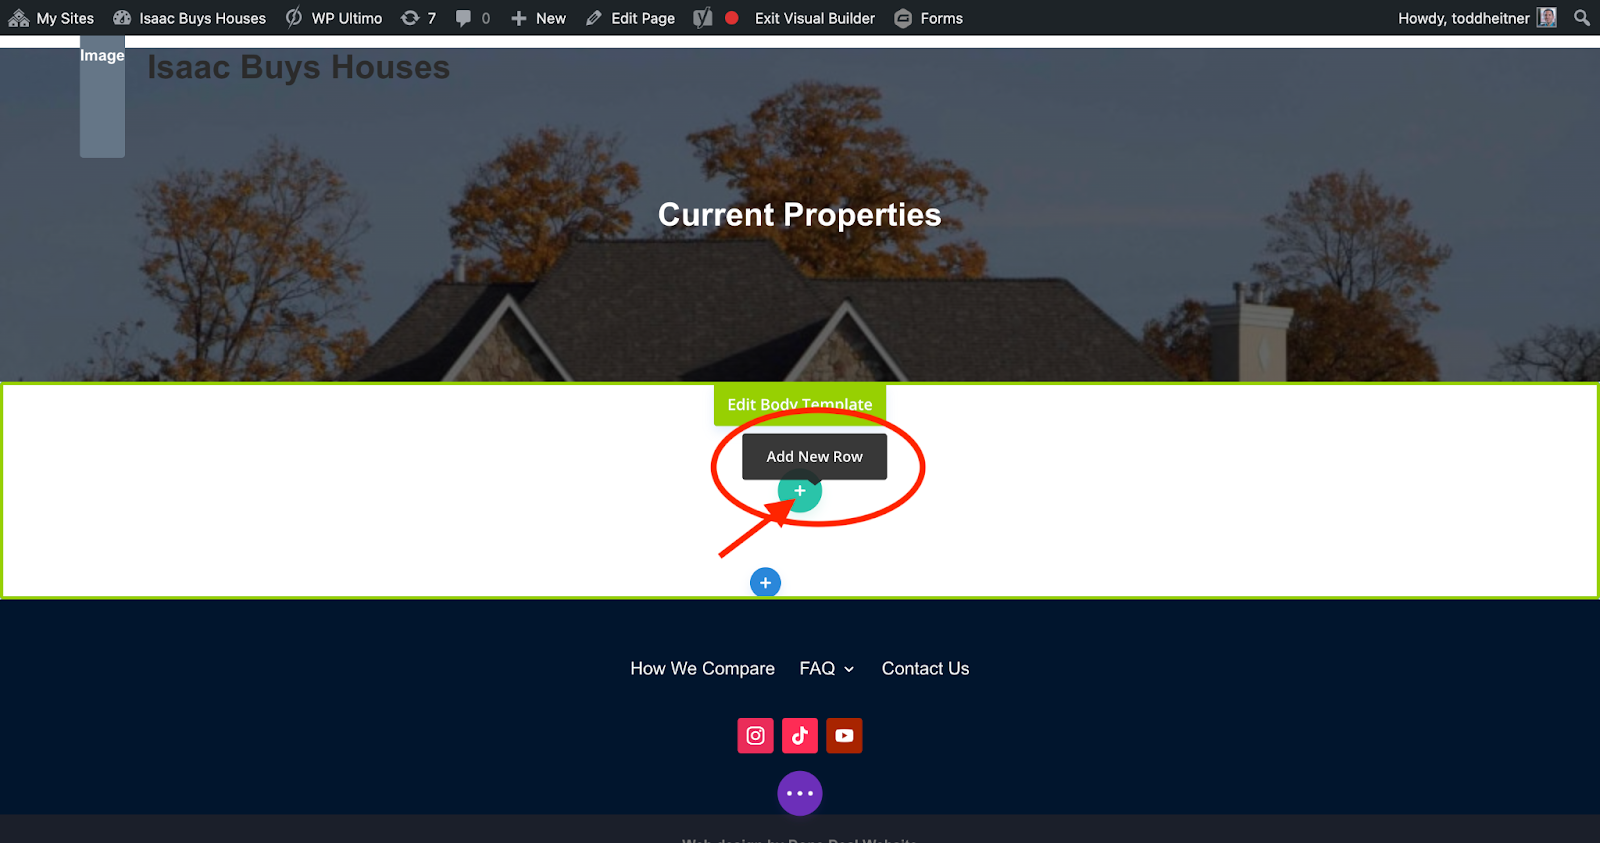
Use the green plus button to “Add New Row.” Then select how many columns you want in that row. (For example, would you like just one column—one image/text box/button/etc? Or would you like 2 columns—an image next to a text box?)
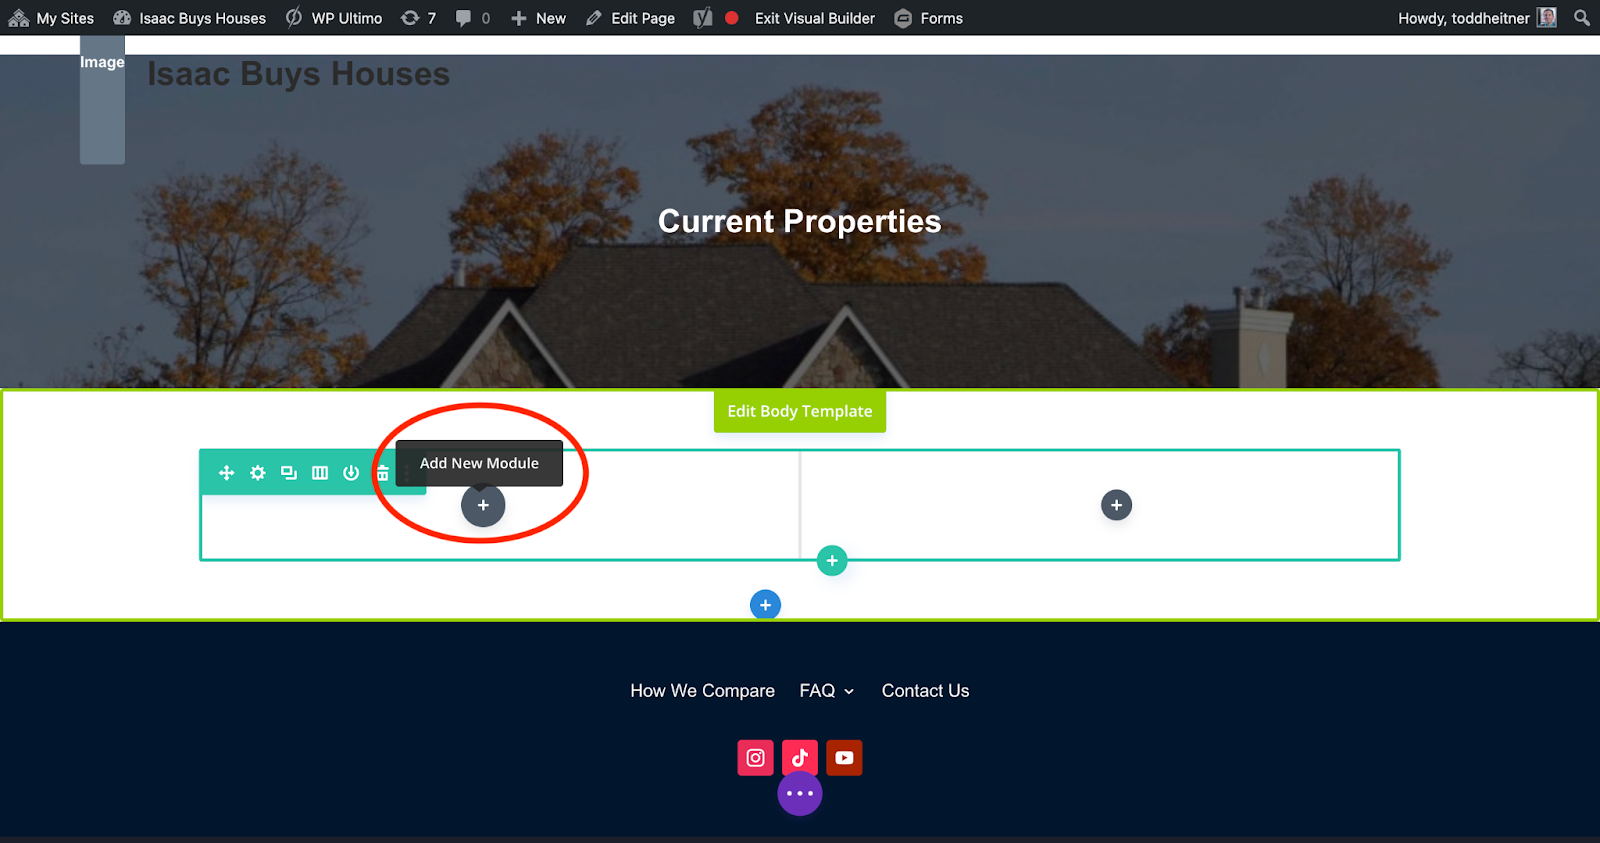
Then use the gray plus button to add whatever element you would like in that space on the page (image, text box, call to action, etc).
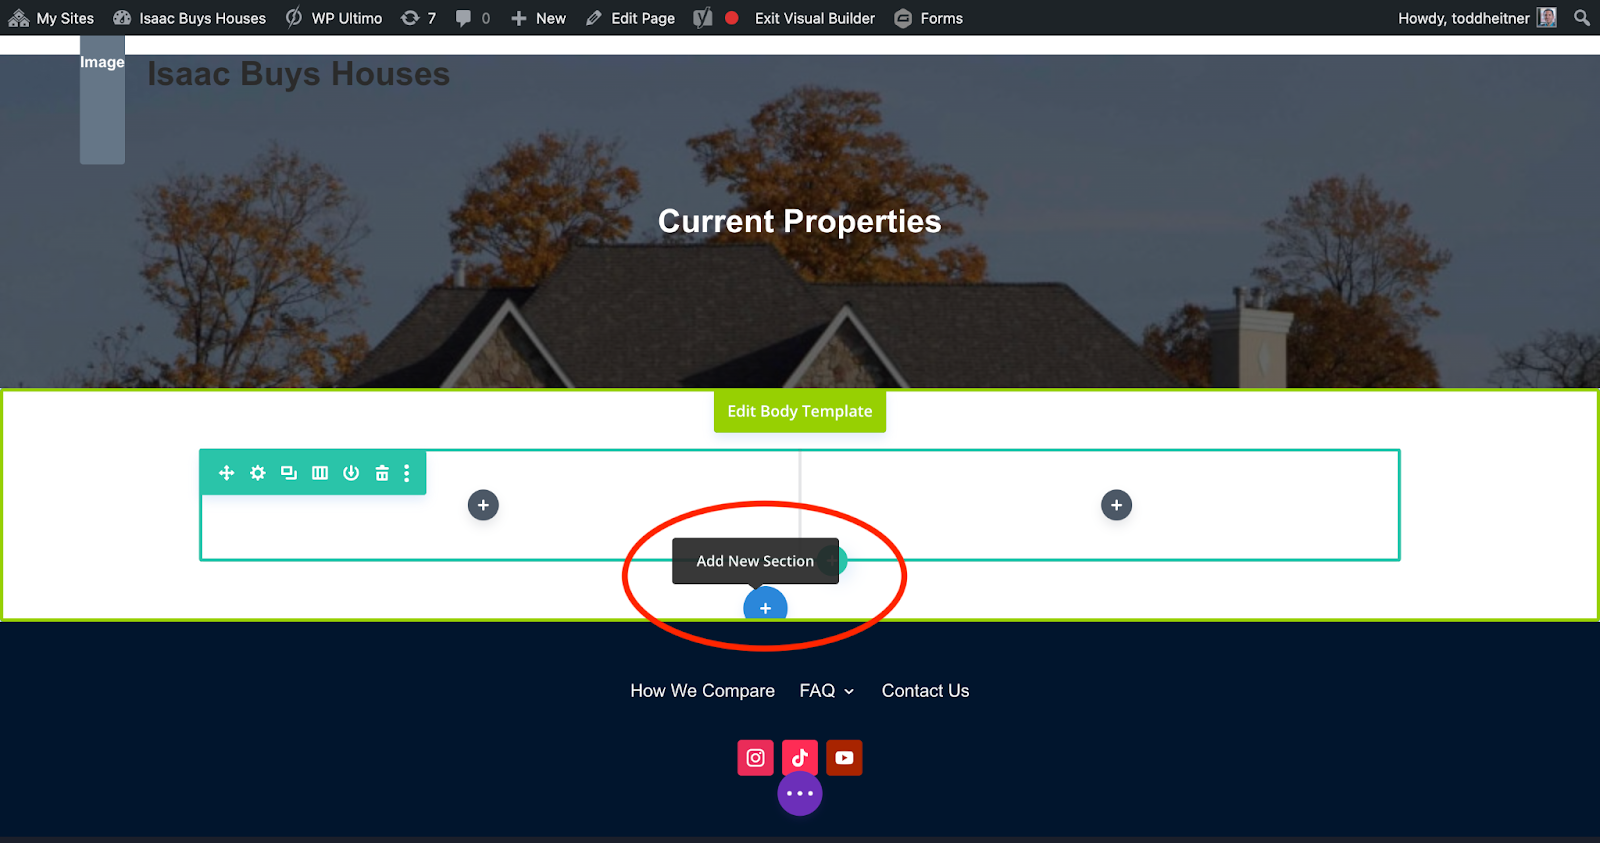
To add more elements going down the page, click on the blue plus button to add a new section, and simply repeat the process.
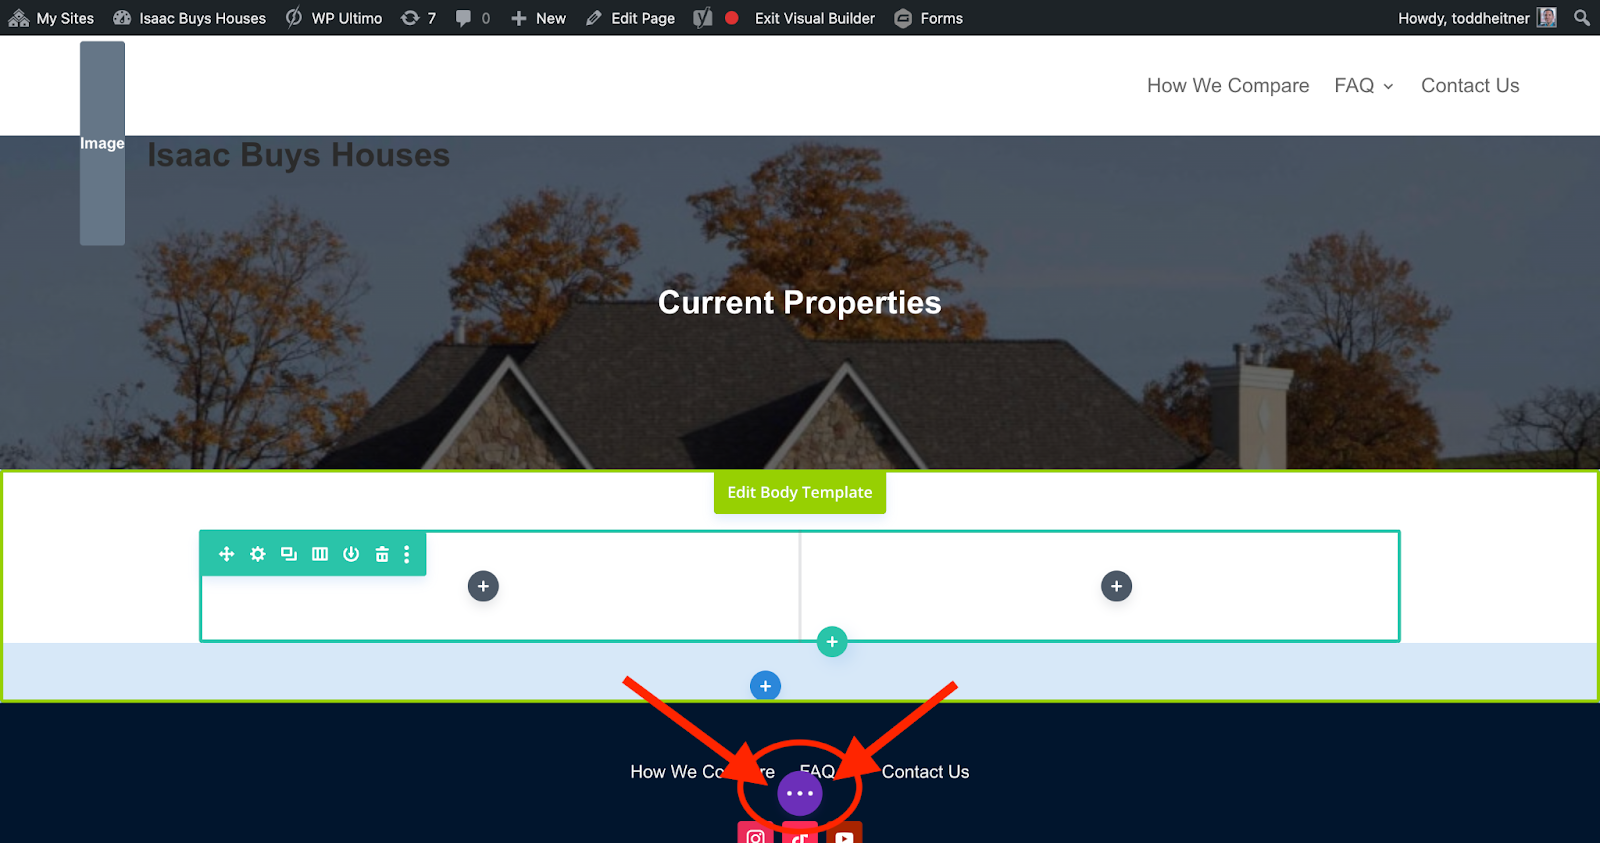
When the page looks the way you want it to, click on the purple circle with three dots at the bottom of the page.
Then, in the lower right-hand corner, you can either save the page as a draft or publish it right away. Then at the top, click exit visual builder.